
 Fact Checked
Choosing natural stone becomes easier when you understand how materials like granite, marble, sandstone, and quartzite develop their unique features. A small crack or weak spot can turn a beautiful natural slab into an expensive disappointment. The good news? Natural stone becomes simple once you understand how it’s formed.
Unlike engineered stones made in controlled factory conditions, natural stone is formed over millions of years under shifting heat, pressure and mineral movement. Factories only cut and polish what nature has already made.
That’s why every slab has its own character — and its own imperfections.
- Some of those marks are harmless.
- Some add character.
- A few need a closer look.
Let’s begin with the foundation: why natural stone has imperfections in the first place.

Why Granite, Marble, Sandstone & Quartzite Develop Imperfections
Natural stone develops imperfections for one straightforward reason: it’s shaped by nature, not manufactured under controlled conditions.
Here’s what actually happens — in simple, believable terms:
1. The earth never stays still
Heat rises and falls. Pressure builds and releases. Minerals shift as the stone forms. These natural changes create tiny lines, soft zones and internal variations.
2. Minerals don’t grow evenly
Quartz, mica, feldspar and other minerals grow at different speeds and in different directions. This creates veins, colour bands, cloudy areas and subtle pattern changes.
3. Stress leaves its marks
Over millions of years, the stone experiences compression, expansion and even micro-vibrations from tectonic movement. These create fine fissures and microscopic pores.
4. Water and weather add finishing touches
Groundwater, temperature swings and natural chemistry shape the final stone further — opening small pits or filling lines with new minerals.
By the time the block is quarried, it already carries this long geological “history.” Defects aren’t signs of poor quality — they’re reminders that nature doesn’t produce identical pieces.
Now that you know why imperfections occur, let’s look at how they appear in real slabs.
ALSO READ | Why Natural Stone Colour Ranges from Black to White
Types of Natural Stone Defects (Geological, Processing & Installation)
Natural stone imperfections fall into three broad categories:
- Geological features (formed inside the earth)
- Processing/fabrication defects (created at the factory)
- Installation or site-related issues (appear after installation)
Here’s how they appear across granite, marble, sandstone, quartzite or any other natural stone.
1. Natural or Geological Features (Natural and Expected)
These natural features are formed deep inside the earth and are completely normal in any real stone slab. Understanding them helps you recognise what’s part of nature — and what you should actually be concerned about.
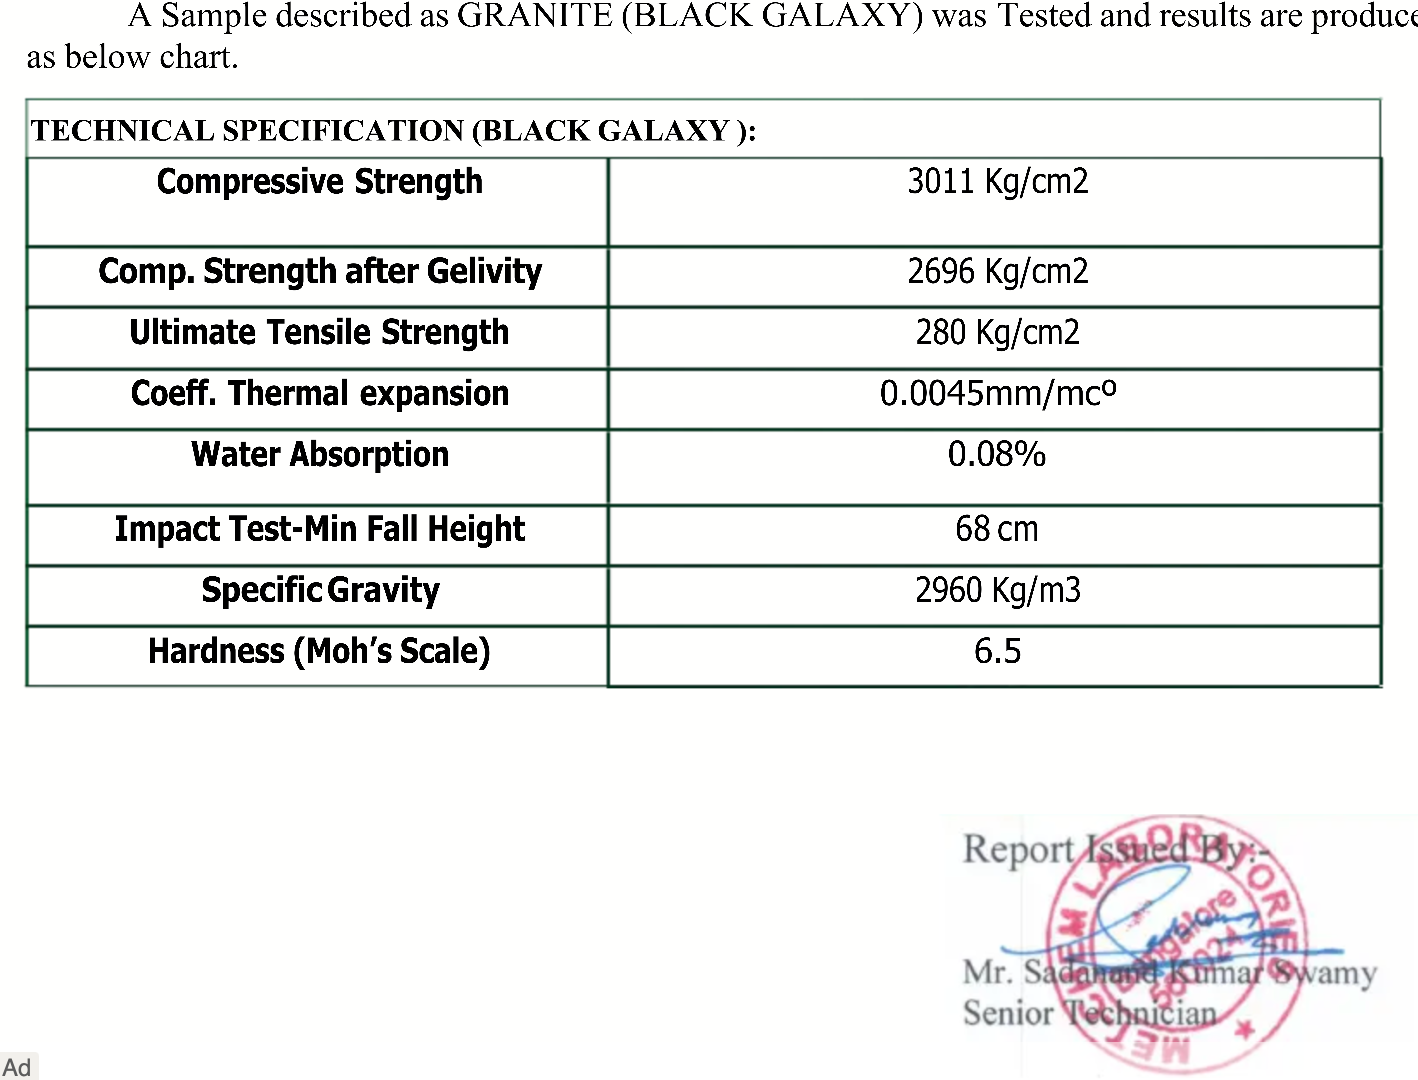
A. Granite Defects – What’s Normal and What’s Not
- Natural crystal groupings that create sparkle and depth.
- Common in black granites and do not affect performance.
- Slight openings where minerals meet.
ALSO READ | How to Check Quality of Granite: Best Methods and Tips
B. Marble Flaws – Veins, Soft Spots & Surface Behavior
- Soft, flowing calcite veins that enhance elegance.
- Caused by recrystallized minerals.
- Allows beautiful polishing but can develop gentle patina over time.
C. Sandstone Defects – Layers, Porosity & Color Bands
- Visible strata from sediment formation.
- Natural iron and clay deposits.
- Mild porosity that gives it a warm, earthy look.
D. Quartzite Imperfection – Fissures, Veins & Resin Interaction
- Result of high-pressure metamorphism.
- Provide movement and shimmer.
- Typically cosmetic and structurally sound.
These geological features define the identity of the stone and help you select what suits both design and performance expectations.
ALSO READ | Learn the Difference Between Fissure vs Crack
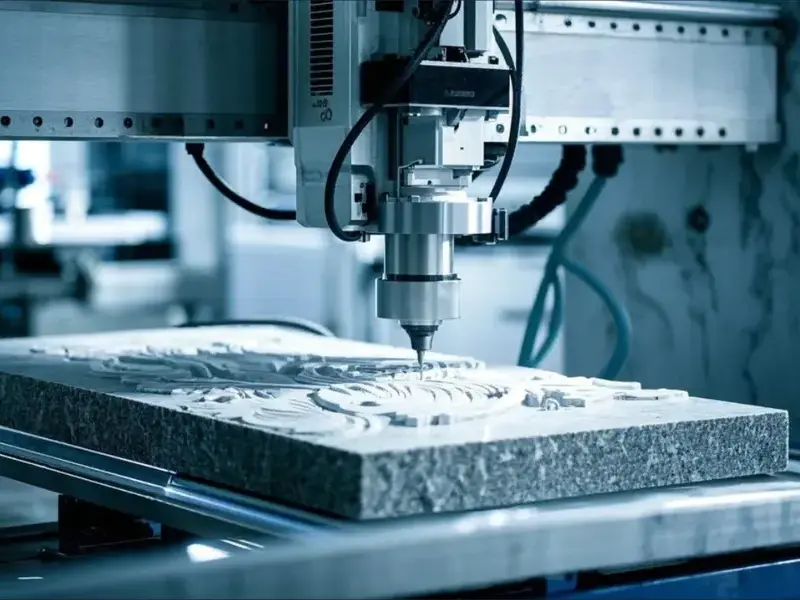
2. Processing & Factory Defects (Cutting, Polishing, Resin Issues)
These happen during cutting, polishing or handling — and are usually avoidable.
- Chipped edges or corners: Usually from rough handling
- Saw marks or polishing waves: From poor calibration
- Uneven thickness or warping: When slabs aren’t fully flattened
- Bad resin work: Yellow patches, mismatched filler, weak repairs
- Reinforcement issues: Peeling mesh, loose backing, rusting rods
These defects are preventable — and should be rejected if severe.
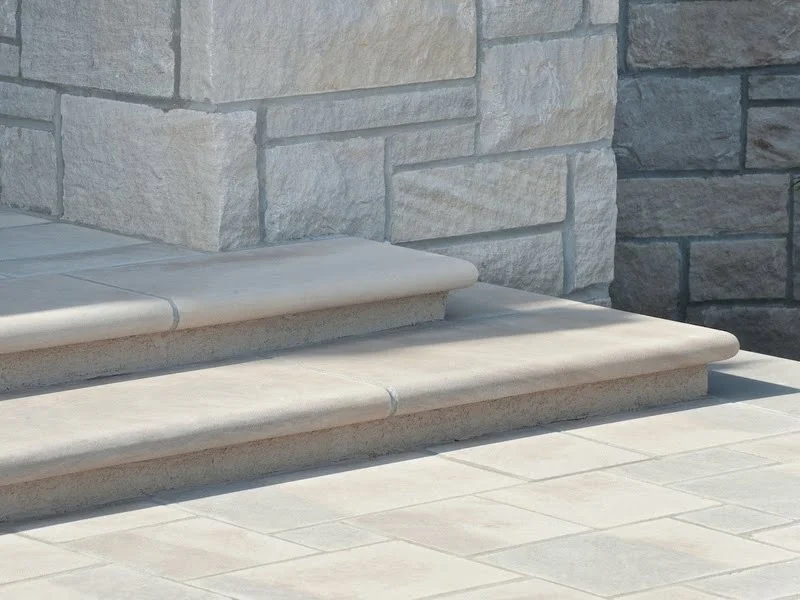
3. Installation & On-Site Defects (Cracks, Lippage, Stains, Etching)
These appear at site and are usually due to installation or environment, not the stone.
- Lippage: Uneven tile or slab height
- Cracks from movement: Due to poor support or heavy loads
- Stains/discolouration: Rust, oil, organic stains or salts
- Spalling/flaking: Surface peeling from moisture or chemicals
- Etching: Dull marks from acids (common on marble/limestone)
These usually reflect installation or maintenance issues, not material defects.
ALSO READ | Top Tips Before Buying Granite: A Simple Guide
Acceptable vs. Unacceptable Stone Flaws: Granite, Marble etc.
Here’s a quick guide to help you understand what’s normal and what signals trouble.
| Feature | Acceptable (Normal) | Why OK | Unacceptable | Why Not OK |
|---|---|---|---|---|
| Color/Pattern | Natural shade & vein variation | Natural character | Strong mismatch vs approved sample | Breaks design consistency |
| Pits/Fissures | Small pits, tight fissures | Don’t weaken strength | Large pits or heavy filler | Makes surface weak or unattractive |
| Inclusions | Small mineral dots/streaks | Harmless | Big/rusty/crumbling inclusions | Can break or discolor |
| Resin Repairs | Neat, color-matched filler | Industry standard | Heavy patching, mismatched color | Visually obvious, unreliable |
| Flatness | Minor uneven polish | Within tolerance | Warping or thickness variation | Causes installation failure |
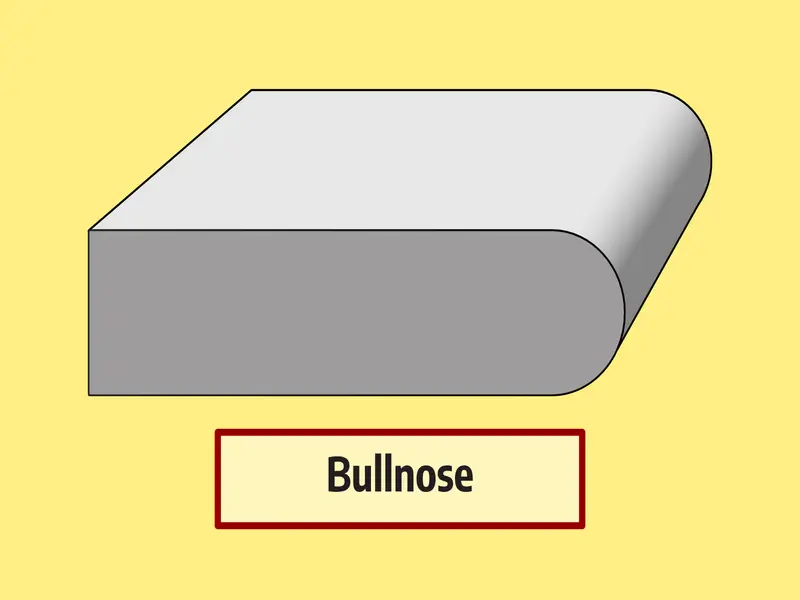
| Edges/Corners | Tiny edge microchips | Easy to polish | Major chips/breaks | Permanent damage |
| Cracks | Tight, stable fissures | Safe | Open/through cracks | Structural risk |
| Back Reinforcement | Secure mesh/rods | Standard | Peeling mesh, rust | Future failure risk |
| Surface Wear | Light patina | Natural aging | Etching, burns | Incorrect stone/care |
| Stains | Temporary moisture marks | Normal | Deep stains, rust | Installation/sealing issue |
How to Inspect Stone Before Buying (Quick Tests)
| Test | What to Do | What to Look For | Pass Criteria |
|---|---|---|---|
| Visual | Check surface & edges | Cracks, pits, resin, mismatch | Clean surface, within sample range |
| Edge/Corner | Inspect closely | Chips, breaks | Only microchips |
| Backside | Flip tile/slab | Mesh, resin, rods | Secure adhesion, no rust |
| Tactile | Hand/fingernail test | Dips, open fissures | Smooth surface |
| Sound | Tap with knuckle/coin | Hollow sound | Clear ringing tone |
| Thickness | Measure 4–6 spots | Variation | Within 1.0–1.3 mm |
| Flatness | Lean slabs together | Gaps/warp | No visible gap |
| Water Test | Drop water | Absorption | Slow darkening |
| Acid Test (marble) | Dab lemon/vinegar | Etching | Minimal/slow reaction |
| Reflection | Tilt under light | Waviness | Sharp reflection |
Conclusion
Natural stone — whether granite, marble, sandstone or quartzite — carries the unique signature of the earth.
In our factory, we often remind clients that beauty truly lies in the eye of the beholder. Recently, we hesitated to show a particular lot because its pattern felt unusual to us. The client insisted — and chose that very batch. When he later shared installation photos, even we were surprised at how stunning it looked.
The goal in stone selection isn’t to find a flawless piece — those rarely exist. It’s to choose a stone whose natural features complement your design and stay within the limits of strength and performance.
And that moment reminded us: what one person sees as a flaw may be exactly what someone else sees as beauty.