Selecting granite for your project is an exciting journey, but it starts with a crucial step: understanding how to check granite quality. Granite is a highly sought-after material, known for its durability and aesthetic appeal, making it a popular choice for countertops, flooring, and more. However, not all granite is created equal. Variations in quality can impact both the appearance and longevity of your granite investment.
In this guide, we’ll explore essential techniques and tips for evaluating granite quality. Whether you’re investing in granite for its robust characteristics or its unique designs, knowing how to assess its quality will help ensure you make an informed choice. From understanding different grades of granite to performing simple tests for polish, porosity, and structural integrity, we’ll provide you with practical insights to make sure your granite meets your high standards. Let’s dive into the key aspects of granite quality and discover how you can select the perfect slab for your needs.
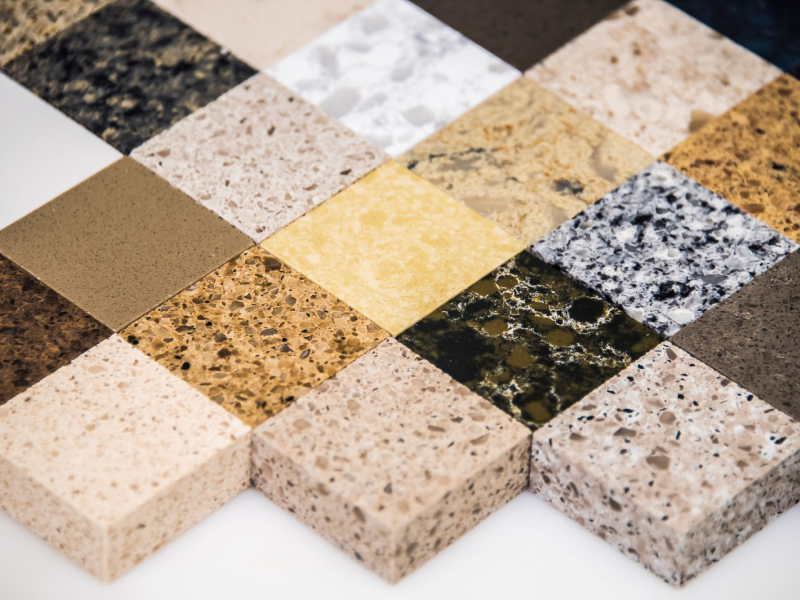
Granite Quality Grades
To get started with checking granite quality, it’s important to understand the different grades of granite. Higher-grade granite usually means you’re looking at a top-quality product that needs less inspection, while commercial or builder-grade granite often requires a more thorough check. Granite grading helps categorize the quality of the stone, making it easier to identify the best options. Although some suppliers might use additional grades, we’ll focus on the three most common ones to give you a clear idea of what to look for. Let’s dive into the different granite grades and what they mean for your project.
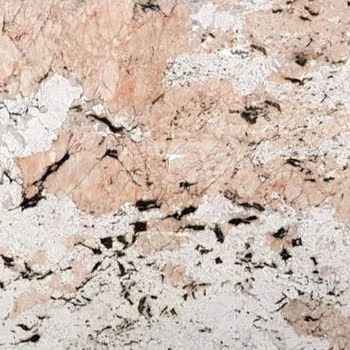
Premium Grade Granite:
Premium granite is often referred to as high-grade or top-grade granite. It stands out due to its superior quality, limited availability, unique characteristics, and freedom from major flaws compared to other types of granite or even within the same type. This grade is known for its clear, exceptional patterns, colours, and durability.
Premium granite is sometimes also called “Grade 3 granite” or “Group A granite,” and it is often used for high-end residential and commercial projects where aesthetic appeal and long-lasting performance are top priorities.
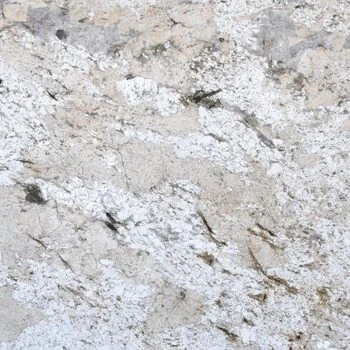
Standard Grande Granite
Standard granite, also known as mid-grade granite, is a step below premium granite in terms of quality but still offers good durability and aesthetics. It typically features more consistent patterns and colours compared to commercial-grade granite, making it a popular choice for many residential and commercial applications.
Standard granite is often available in a wider range of patterns and colours than lower grades, though it may not have the same level of uniqueness or rare characteristics as premium granite. It balances quality and affordability, making it a solid option for various projects where a high level of visual appeal and durability is desired without the premium price tag.
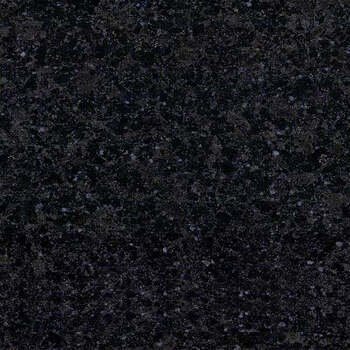
Commercial Grade Granite
Commercial-grade granite, also known as entry-level or builder-grade granite, is typically the most affordable and widely available type of granite. It is often used in budget-friendly or high-volume projects. This granite usually has simpler patterns and colours and may feature more visible imperfections, such as inconsistent textures or minor flaws.
While commercial-grade granite is durable and functional, it generally doesn’t have the unique patterns or high-end appearance found in higher grades. It’s often pre-fabricated and can be thinner than higher-grade options
Once you’ve chosen the right grade of granite for your project, the next important step is to assess its physical and aesthetic qualities. One of the first things to check is the quality of the granite’s polishing. The polish affects the granite’s appearance and smoothness, making it a key factor in determining the overall look and feel of the stone.
How to Check the Quality of Polish on Granite?
Checking the quality of a granite’s polish is crucial for ensuring that the stone has a smooth, attractive finish. Here’s how you can do it:
Feel the Surface: Run your hand over the granite. A high-quality polish should feel smooth and glass-like, without any rough or uneven areas.
Check Light Reflection: Hold the granite under a light source. A good polish will reflect light clearly and create a mirror-like effect. If the surface looks dull or uneven, the polish might not be up to standard.
Look for Uniformity: Move the granite around and observe how the light reflects from different angles. The reflection should be consistent across the entire surface. Any variation in light reflection could indicate imperfections in the polish.
Visual Inspection: Examine the surface closely for any scratches or dull spots. High-quality granite should have a flawless, even finish without noticeable imperfections.
Ask About the Polishing Method: Inquire with the dealer about how the granite was polished. Granite polished using line polishing machines generally has a superior, more consistent finish compared to hand-polished granite, which might appear duller and less even.
By using these simple checks, you can assess whether the granite’s polish meets your quality expectations.
ALSO READ | Does Granite Scratch? Can It Be Scratched? Will Granite Scratch? Learn About Granite Scratch Resistance
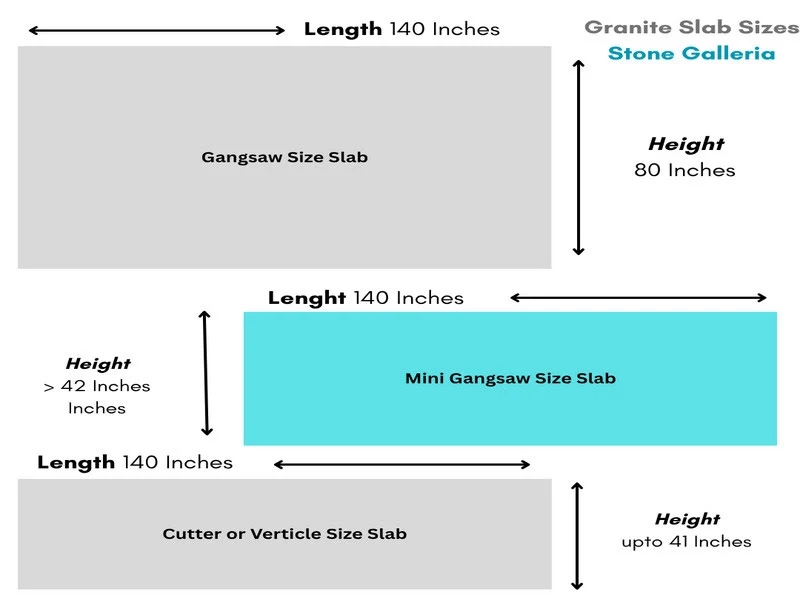
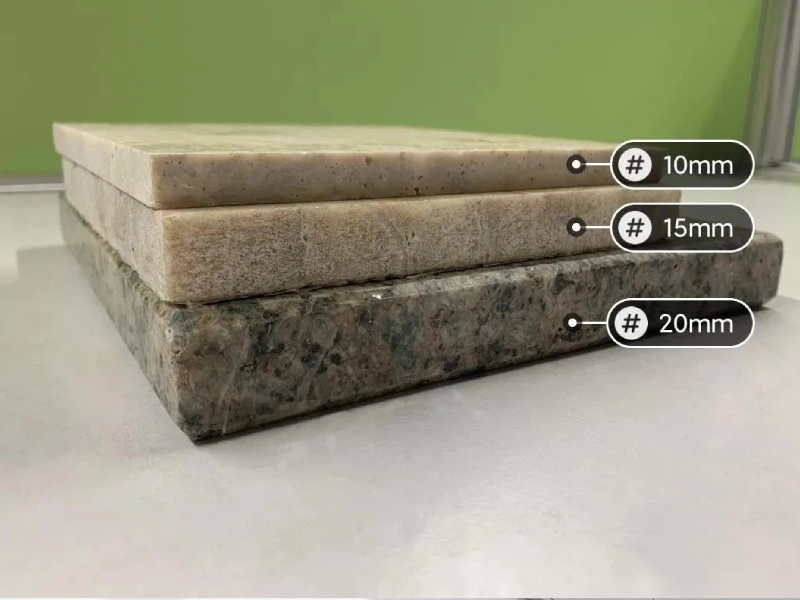
How To Check Thickness of Granite Slab?
To check the thickness of a granite slab, you can use the following methods:
Ask the Supplier: The easiest way is to directly ask the supplier or manufacturer for the slab’s thickness specifications. They should provide you with accurate information about the slab’s thickness.
Use a Caliper:
- Manual Caliper: Place a manual caliper on the edge of the granite slab and gently close the jaws to measure the thickness. Make sure the caliper is properly zeroed before measuring.
- Electronic Caliper: An electronic caliper works similarly but provides a digital readout, which can be more precise.
Measure with a Tape Measure: If a caliper is not available, you can use a tape measure:
- Measure the thickness by using the tape measure at the edge of the slab. This method might be less precise, so it’s best used as a secondary check.
ASLO READ | Granite Countertop Thickness: Perfect Granite Thickness?
Granite Quality Check for Porosity
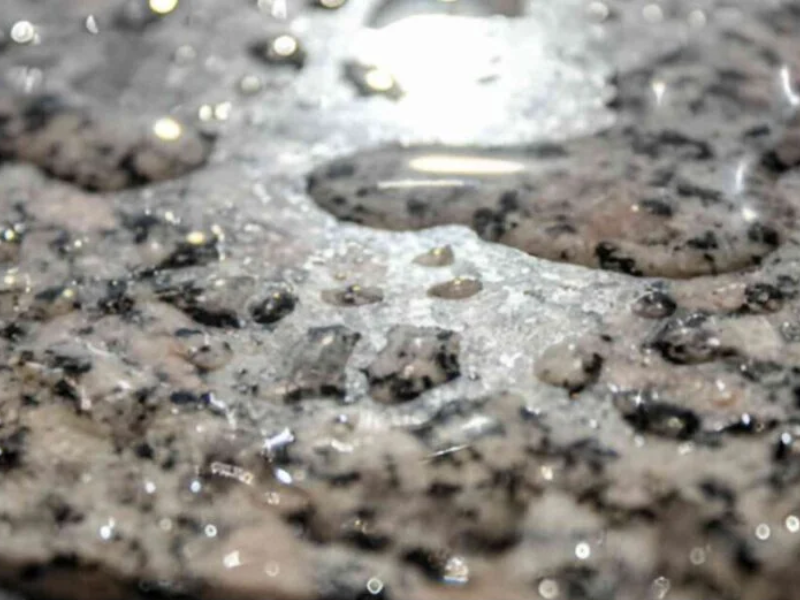
To ascertain the porosity of granite slabs, which refers to their capacity to absorb water, a simple, tool-free test can be employed. Despite the expectation that superior granite should be less porous, certain varieties may exhibit surprising levels of porosity. Here’s a non-invasive test:
- Water Test: Sprinkle a few water drops on the granite surface. A high-quality polish should result in water beading up and remaining on the surface rather than being absorbed into the stone.
- Acid Test: Although it’s advised to avoid conducting this test directly on the actual granite slab, you can test a small sample. Place a drop of mild acid, such as lemon juice or vinegar, on the surface and observe for any etching or dulling. High-quality granite should remain unaffected by weak acids.
ALSO READ | Is Granite Porous? or Non-porous or How Porous Is it?
How to Check for Bends in Granite Slab?
To check for bends or warping in a granite slab, you can follow these methods:
Visual Inspection
- Align Slabs: Place two slabs with their polished sides facing each other, aligning the edges.
- Check for Gaps: Tilt one slab towards the other and look for gaps or misalignment. A visible gap indicates a bend in the slab.
Using a Straightedge
- Place a Straightedge: Lay a straightedge or a long, flat object along the length of the slab.
- Inspect for Curvature: Look for any gaps between the straightedge and the slab. Gaps reveal bends or warps.
Fishing Line Method
- Lay the Slab: Place the granite slab on a stable, level surface.
- Apply Fishing Line: Stretch a piece of fishing line or thread along both the length and height sides of the slab, ensuring they are parallel.
- Check for Gaps: Examine the space between the fishing lines and the slab surface. Gaps indicate bends.
- You can watch video here
Measure with a Level
- Place a Level: Use a spirit level or laser level across the surface of the slab.
- Check for Levelness: Ensure the slab is even. Any deviation can indicate warping or bending.
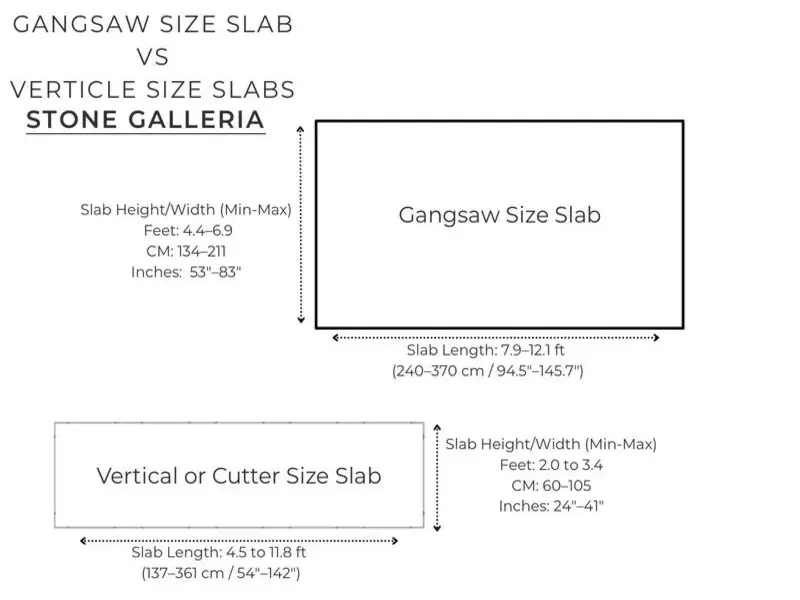
For longer slabs say above 300 cm, a tolerance of 1 to 2.5 mm is generally considered acceptable within the industry standards. The tolerance takes into account the natural variations in the stone and the limitations of the machinery used during the cutting and finishing processes.
It’s important to communicate your tolerance requirements with your supplier or granite manufacturer so that they can provide granite slabs that meet your specific needs.
Other Quality Checks
- Stain Resistance: Perform a stain resistance test by placing a small amount of common household liquids (such as coffee or oil) on the granite surface and observing if it leaves a stain. High-quality granite should resist staining.
- Lemon Test: Granite reacts in specific ways to lemon that can help you assess its quality. If the lemon juice gets absorbed into the granite, it suggests that the stone is porous or hasn’t been polished well. If you see a white stain after putting lemon droplets on the surface, it indicates high calcite content. It’s best to avoid slabs that show these reactions.
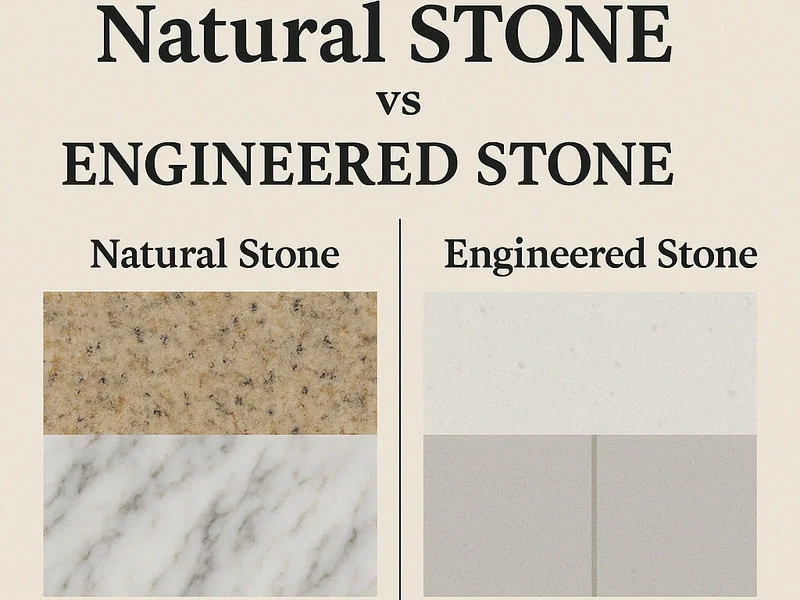
- Color and Pattern: Granite is a natural stone, so variations in color and pattern are normal. Ensure these variations are within acceptable ranges for your project.
By including these additional checks in your assessment, you can further ensure the overall quality and suitability of the granite for your specific project.
ALSO READ | Does Granite Stain? Understanding the Risks, Prevention & Solution
How to Check Granite Quality
Visual Inspection: Visual inspection is a fundamental method for assessing granite quality. Here’s a step-by-step guide to help you evaluate granite through visual inspection:
- Check for Blemishes:
- Cracks
- Chips
- Fissures
- Discolourations
- Scratches
- Pits
- Assess Surface Uniformity: Look for evenness across the surface.
Check Dimensions
- Verify Measurements: Confirm slab dimensions match your specifications.
- Avoid: Accepting slabs not as per your requirement
Measure Thickness
Assess Polish Quality
- Perform a Coin Test:
- Gently brush a coin on the surface.
- Indicator: Slabs that scrape easily may have low-quality polish or sealant.
Chemical Tests
- Water or Leamon Test:
- Check for Absorption: Indicates porosity or poor polish.
- White Stain: High calcite content; avoid if present.
- Alcohol and Kerosene Test:
- Procedure: Dip cloth in rubbing alcohol and kerosene.
- Check for Discoloration: Indicates use of artificial pigments.
Also READ | Pits, Cracks, and Fissures in Granite: What They Mean
Conclusion
Selecting the right granite involves more than just picking a beautiful slab; it’s about ensuring quality that meets your project’s needs. By following these steps—understanding granite grades, checking polish quality, measuring thickness, assessing porosity, and inspecting for bends—you can make an informed choice that guarantees both durability and aesthetic appeal.
For those seeking top-notch granite with exceptional quality and craftsmanship, Stone Galleria offers a wide range of premium options. Our commitment to excellence ensures you receive only the finest granite, tailored to your specifications. Don’t leave your granite selection to chance—contact Stone Galleria today to find the perfect granite slab for your project. Let us help you bring your vision to life with quality that lasts.